How to Install Ro Water Filter System
Installing an RO water filter system might seem straightforward, but it requires careful preparation and precise steps to ensure proper function. You’ll need to gather specific tools, understand each component, and handle connections accurately to avoid leaks or malfunctions.
Before you begin, consider how space and plumbing layout will affect your installation. The process involves more than just plugging in parts—getting it right demands attention to detail and methodical execution.
Key Takeaways
- Gather necessary tools and clear workspace to ensure safety and efficient installation.
- Identify and understand RO system components like pre-filters, membrane, storage tank, and faucet before connecting.
- Disconnect water supply, measure tubing accurately, and securely connect tubing and filter cartridges.
- Install the storage tank upright, attach drain line with clamp, and mount the faucet properly on the sink.
- Test the system for leaks, water flow, and TDS levels; troubleshoot as needed using the manufacturer’s guide.
Get Your RO System Tools Ready and Clear Your Workspace
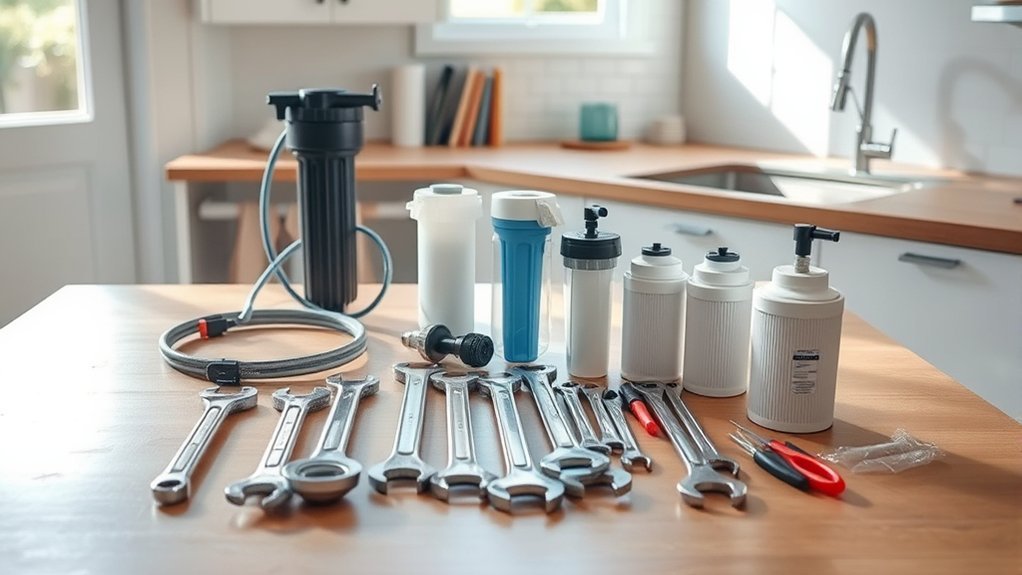
Before you begin installing your RO water filter system, always gather all necessary tools and clear your workspace thoroughly. Start by gathering tools such as adjustable wrenches, tubing cutters, Teflon tape, and a bucket for water drainage.
Get safety reminders in place: wear gloves and safety glasses to protect against accidental leaks or sharp edges. Next, understand space layout around your sink or installation area to ensure you have enough room to maneuver and store components.
Plan workflow by organizing tools and parts logically to streamline each installation step, minimizing disruptions. A clutter-free, well-organized workspace helps you avoid mistakes and speeds up the process. Taking these preparatory steps ensures a smooth, efficient installation and prevents unnecessary complications.
Understand RO System Parts Before Connecting to Water Supply
How do you guarantee a smooth connection to your water supply? Start by gaining a thorough understanding of the components involved. A clear system overview helps prevent installation errors.
Focus on these critical parts before proceeding:
- Pre-filters Remove sediments and chlorine, protecting the RO membrane.
- RO Membrane The core component that filters dissolved solids and contaminants.
- Storage Tank and Faucet Store purified water and control its flow during use.
Knowing these components ensures you handle each part correctly and connect them properly. This preparation minimizes leaks and ensures optimal system performance.
Don’t rush this step; your understanding of components will directly impact the reliability and efficiency of your RO water filter system.
Connect the RO System’s Water Line and Install the Filter
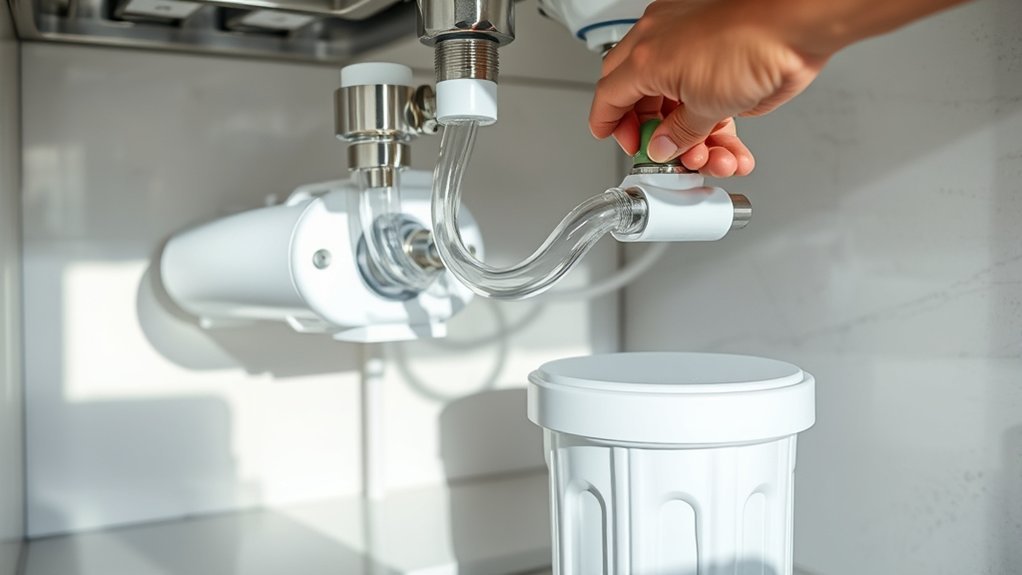
Connecting the RO system’s water line requires careful attention to guarantee a secure, leak-free fit. First, disconnect the water supply to avoid any accidental flooding.
Ensure a secure, leak-free connection by carefully disconnecting the water supply before starting.
Next, measure tubing accurately from the water source to the RO unit to ensure proper length and avoid tension or kinks. Choose tubing that matches the system’s fitment compatibility specifications to prevent leaks.
When attaching fittings, push tubing fully into connectors and secure any compression nuts tightly. For filter installation, insert the filter cartridge firmly into its housing, making sure seals and O-rings are properly seated to maintain leak prevention.
Double-check all connections before restoring the water supply. Proper alignment and secure connections are critical for optimal system performance and avoiding water damage.
Install the Storage Tank, Drain Line, and Faucet
After securing the water line and installing the filter, you’ll move on to setting up the storage tank, drain line, and faucet. Follow these installation basics carefully:
- Storage Tank: Position the tank upright near the system. Connect the tank’s outlet to the RO system’s dedicated port using the provided tubing, ensuring a tight fit to prevent leaks.
- Drain Line: Attach the drain saddle clamp to the sink drain pipe at the designated height. Connect the drain line tubing from the RO system to the saddle clamp, securing it firmly to avoid waste water backflow.
- Faucet: Mount the RO faucet on the sink or countertop. Connect the faucet tubing from the RO system to the faucet’s inlet, checking all connections for proper sealing.
For maintenance tips, inspect these connections periodically to catch leaks early and ensure system longevity.
Test Your RO Filter System and Troubleshoot Common Problems
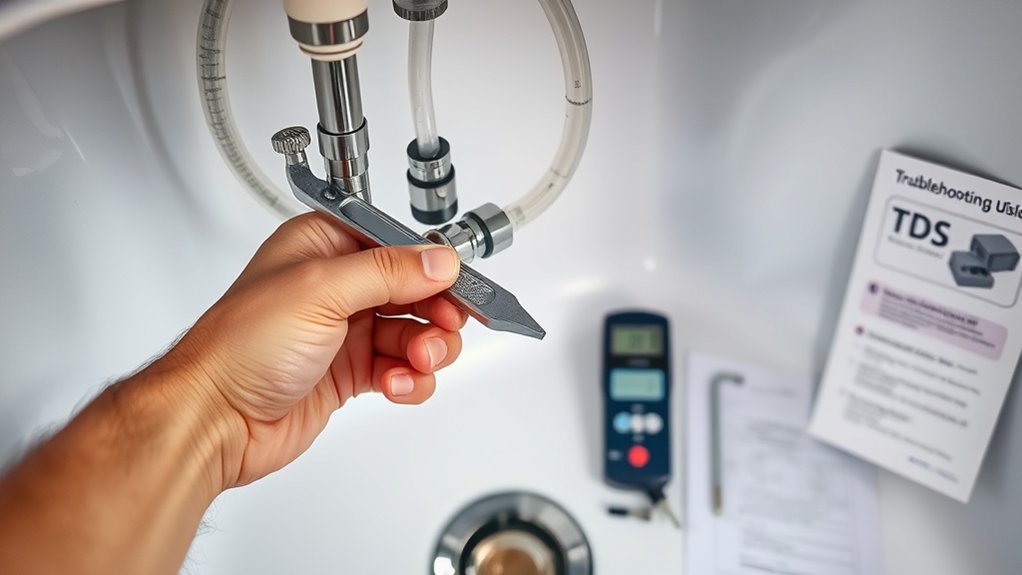
When should you run the initial test on your RO filter system to guarantee everything functions correctly? Perform this test immediately after installation and the system’s first full tank fills.
Begin by checking water taste, pressure, and flow rate at the faucet. Use a TDS meter to measure total dissolved solids; if readings don’t drop as expected, suspect a technique mismatch in installation steps.
Avoid troubleshooting based on irrelevant topics like faucet aesthetics or unrelated plumbing issues. Common problems include leaks, slow flow, and poor filtration.
Inspect all connections, ensure filters are correctly seated, and verify the drain line is unobstructed. If issues persist, consult the manufacturer’s troubleshooting guide for precise diagnostic steps.
Testing promptly ensures your RO system delivers optimal water quality and performance.
Frequently Asked Questions
How Often Should I Replace the RO Filters?
You should replace RO filters every 6-12 months to maintain efficiency. Consider recycling concerns when disposing of old filters.
Note that timely replacement reduces energy usage by preventing system strain and ensuring optimum water purification performance.
Can I Install the RO System Myself Without Professional Help?
You can handle the do it yourself feasibility if you have basic plumbing skills and tools. However, professional installation requirements are recommended for complex setups to ensure proper sealing, avoid leaks, and maintain system warranty compliance.
What Are the Benefits of Using an RO Water Filter System?
You’ll experience water so pure it’s like sipping from a mountain spring! The benefits overview includes contaminant removal and improved taste.
Follow maintenance tips, like regular filter changes, to ensure optimal performance and longevity.
Is RO Water Safe to Drink Daily?
You can safely drink RO water daily, but consider safety concerns like mineral removal affecting taste and health.
To optimize daily consumability, you might need to remineralize the water, ensuring balanced minerals and improved water taste.
How Much Space Do I Need Under the Sink for Installation?
Coincidentally, you’ll need about 15-20 inches of under sink clearance to meet space requirements. This ensures proper installation, easy maintenance, and adequate room for filters, tubing, and the storage tank without cramping your cabinet space.
Conclusion
Now that you’ve connected every line and installed each component, it’s time to test your RO system like a skilled knight checking his armor before battle. Run water through the filters, monitor flow and TDS levels, and ensure no leaks exist.
If anything seems off, troubleshoot promptly to maintain optimal performance. With careful attention to detail, your water will be purified efficiently, providing safe, clean drinking water for your household.
By following these steps, you can be confident that your RO water filter system is working effectively to deliver pure, healthy water.