How to Install Water Filter
Installing a water filter yourself can improve your water quality efficiently, but it requires careful preparation and the right tools. To start, you’ll need to identify the best filter for your setup and shut off your water supply before beginning the installation. Ensuring secure connections is essential to prevent leaks and maintain system integrity.
Proper alignment and flushing are crucial steps to avoid contamination and maintain performance. Paying attention to these details will help you avoid common pitfalls and ensure your system works as intended. Following the correct procedures will maximize the benefits of your water filter installation.
Key Takeaways
- Shut off the main water supply and prepare the installation area for accessibility and cleanliness.
- Use appropriate tools like wrenches, screwdrivers, and Teflon tape for secure, leak-proof connections.
- Mount the filter unit securely using brackets and ensure correct orientation aligned with water flow direction.
- Connect hoses or tubing properly, then turn on water and switch the diverter valve to filter mode.
- Flush the filter with water for 5 minutes, check for leaks, and tighten fittings as needed to prevent drips.
What Types of Water Filters Can You Install at Home
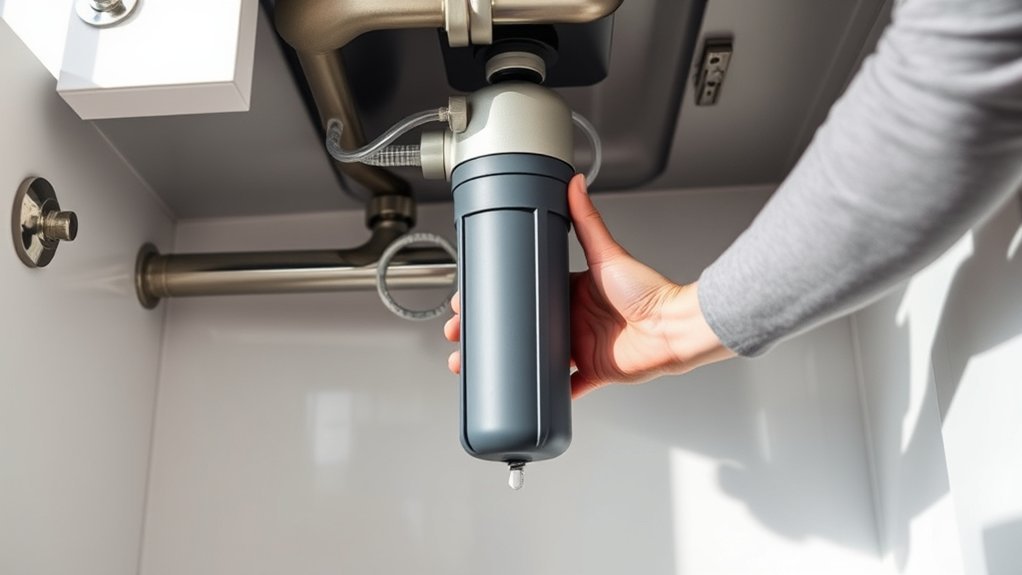
What types of water filters can you install at home depends largely on your water source and filtration needs. You can select from point-of-use filters, like faucet-mounted or under-sink models, or point-of-entry systems that treat all incoming water.
Choosing home water filters depends on your water source and whether you need point-of-use or whole-house systems.
Each type demands different installation steps and maintenance routines. When planning, factor in cleanup tips such as flushing the system post-installation to remove debris.
Budgeting considerations are crucial; high-efficiency filters often have higher upfront costs but lower long-term maintenance expenses. Conversely, basic carbon filters are affordable but may require frequent replacement.
Knowing your water quality and usage patterns enables you to choose a filter that balances performance with cost-effectiveness. Keeping these technical and practical points in mind will streamline installation and ensure optimal filtration results.
How to Choose the Right Water Filter for Your Needs
You need to match the water filter type to the specific contaminants present in your water supply for effective purification. Consider filters like carbon, reverse osmosis, or UV systems based on their removal capabilities.
Understanding these differences ensures you select a filter that meets your water quality needs precisely.
Types Of Water Filters
Although selecting a water filter might seem straightforward, understanding the different types and their specific functions is essential to guarantee effective contaminant removal. You’ll find various options like water pitcher filters, under-sink systems, and faucet-mounted filters.
Each has unique cleaning routines and maintenance needs, so consider your lifestyle and water usage carefully.
| Filter Type | Maintenance Demand | Ideal Usage |
|---|---|---|
| Water Pitcher | Low | Portable, quick use |
| Under-Sink | Moderate | Permanent, kitchen use |
| Faucet-Mounted | Low to Moderate | Convenience, small spaces |
Choose a filter that fits your daily routine and space, ensuring you keep up with cleaning routines to maintain performance.
Contaminants Removal Capabilities
Why does selecting the right water filter matter? Because not all filters target the same contaminants, and your health depends on removing specific impurities. When evaluating contaminants removal capabilities, focus on the filter’s certification and test data.
Look for filters that address your water source’s unique challenges like chlorine, lead, or microbial pathogens. Another two word discussion to consider is filter lifespan, as effectiveness diminishes over time.
A two word discussion idea is contaminant spectrum, which defines the range of impurities a filter can eliminate. By understanding these technical details, you’ll choose a filter tailored to your needs, ensuring optimal water quality.
Don’t guess—verify contaminant removal to safeguard your water and health effectively.
Tools and Materials Needed for Water Filter Installation
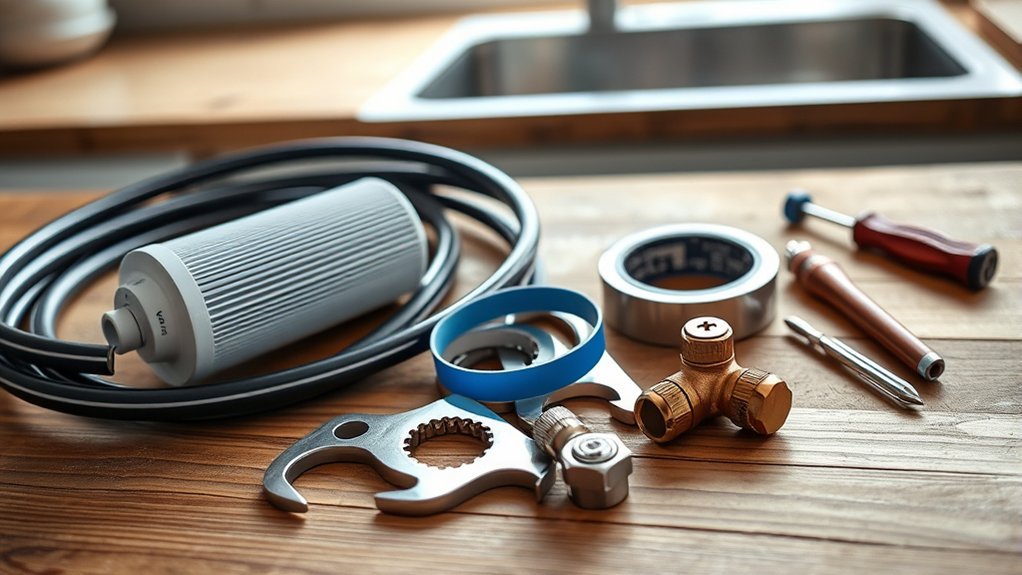
Typically, assembling the right tools and materials guarantees a smooth water filter installation process. You’ll need a wrench set to tighten fittings, a screwdriver for mounting brackets, and Teflon tape to ensure leak-proof connections.
Include a tubing cutter for precise pipe cuts and a bucket to catch residual water. Avoid getting distracted by unrelated topics or random discussions about plumbing; focus strictly on these essentials.
Materials should include the water filter unit, compatible connectors, and replacement cartridges. Having a flashlight handy helps inspect tight spaces.
Preparing Your Plumbing for Water Filter Installation
How do you guarantee your plumbing is ready for a water filter installation? Start by assessing your existing plumbing to ensure compatibility with the filter system. Follow these precise steps:
- Shut off the main water supply to prevent leaks and water waste, supporting water conservation efforts.
- Inspect pipes for leaks or corrosion, replacing any damaged sections to maintain clean water flow, essential for sustainable farming applications relying on filtered water.
- Clean the installation area thoroughly, removing debris that could clog the filter or damage fittings.
How to Install an Under-Sink Water Filter
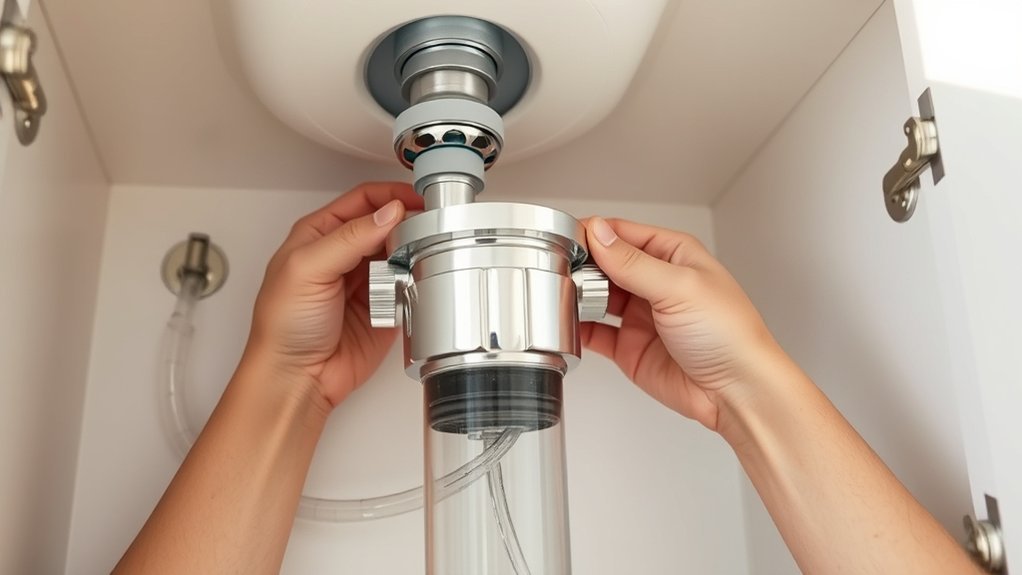
Start by clearing the area under your sink and turning off the water supply.
Next, connect the water lines carefully, ensuring tight, leak-free fittings.
Finally, secure the filter unit firmly to prevent movement during use.
Preparing Installation Area
Where should you position your under-sink water filter for optimal performance and ease of maintenance? Choose a location that allows easy access to the filter housing to adhere to the maintenance schedule and avoid voiding warranty limitations. Follow these steps:
- Clear the cabinet area beneath the sink to provide ample workspace and prevent damage to existing plumbing.
- Ensure the filter is installed vertically and close to the cold water line to maintain consistent pressure and flow rate.
- Verify there’s enough clearance for filter cartridge replacement and routine inspections without disconnecting the unit.
Preparing the installation area carefully minimizes installation errors, supports efficient filter operation, and respects manufacturer guidelines, ensuring your system remains effective and compliant with warranty terms.
Connecting Water Lines
When should you connect the water lines to guarantee a secure and leak-free installation? You should connect them after confirming that the shutoff valve is fully closed and all fittings are clean. Use Teflon tape on threaded connections to ensure a tight seal.
Connect the inlet line to your cold water supply, and the outlet line to the faucet or appliance, such as fridge food dispensers or garden irrigation systems. Tighten all fittings with a wrench but avoid overtightening to prevent damage.
| Connection Point | Purpose | Common Issue |
|---|---|---|
| Cold Water Supply | Water source | Leaks |
| Filter Inlet | Water enters filter | Cross-threading |
| Filter Outlet | Filtered water exits | Loose fittings |
| Fridge Food Line | Drinking water | Poor flow |
| Garden Irrigation Line | Outdoor watering | Blockages |
Securing Filter Unit
To secure the filter unit under your sink, choose a stable location that allows easy access for future cartridge replacements and maintenance. Avoid spots that may interfere with plumbing or electrical fixtures, as these are unrelated topics that complicate installation.
Follow these steps:
- Use mounting brackets provided with the filter; align them on a solid surface like the cabinet wall.
- Mark and drill pilot holes for screws, ensuring the filter will stay fixed without vibration or movement.
- Attach the filter unit firmly using screws, checking stability by gently shaking it.
These two word ideas, “solid surface” and “pilot holes,” ensure a secure, professional installation. This approach prevents leaks and facilitates quick servicing without hassle.
How to Install a Countertop or Faucet-Mounted Water Filter
How do you quickly set up a countertop or faucet-mounted water filter to guarantee clean water? First, select a location near your sink ensuring it complements your kitchen’s design aesthetics.
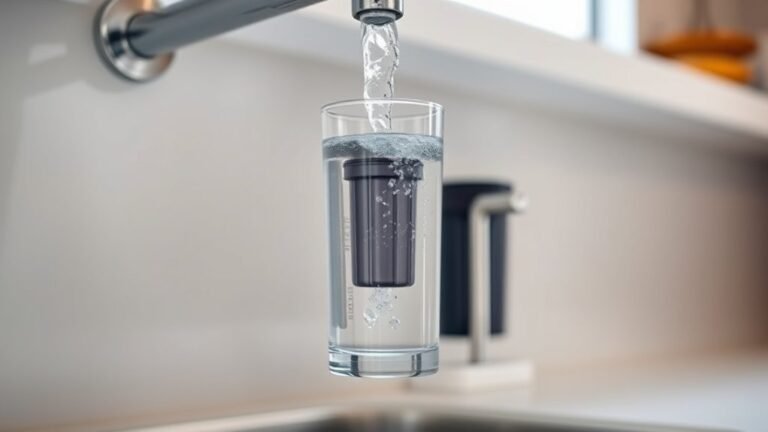
Attach the diverter valve to your faucet, confirming compatibility with the faucet type. Connect the filter unit to the diverter using supplied fittings, tightening securely to prevent leaks.
For countertop units, place the filter on a stable surface and connect the hose to the faucet using the diverter valve. This setup uses no additional energy, relying solely on water pressure, so energy usage remains minimal.
Finally, turn on the water and switch the diverter valve to the filter position, allowing water to flow through the filter. This method ensures a rapid, efficient installation without complicated plumbing.
How to Test Your Water Filter After Installation
After completing the installation of your countertop or faucet-mounted water filter, verifying its performance guarantees you’re receiving properly filtered water. Follow these testing procedures to ensure functionality and leak prevention:
- Initial Flush: Run water through the filter for 5 minutes to clear any carbon dust or loose particles, ensuring clean taste and optimal flow rate.
- Leak Inspection: Carefully examine all connection points under pressure. Look for drips or moisture, tightening fittings as needed to prevent leaks.
- Water Quality Test: Use a TDS (Total Dissolved Solids) meter or water testing kit. Compare readings before and after filtration to confirm contaminant reduction.
These steps confirm your filter’s effectiveness, safeguard against leaks, and ensure safe, clean water from your newly installed system.
How to Maintain and Replace Your Home Water Filter
Regular maintenance and timely replacement of your home water filter guarantee consistent water quality and system efficiency. Following a strict maintenance schedule helps prevent clogging and bacterial growth.
Most filters require replacement every 3 to 6 months, depending on usage and water quality. Monitor pressure drops and water taste to determine replacement frequency accurately.
| Task | Frequency | Notes |
|---|---|---|
| Inspect filter | Monthly | Check for damage or discoloration |
| Clean housing | Every 3 months | Use mild soap and water |
| Replace filter | Every 3-6 months | Follow manufacturer guidelines |
| Monitor water | Ongoing | Test taste, odor, and clarity |
Adhering to this routine ensures your filter functions at its best and protects your household water supply.
Fixing Common Water Filter Installation Problems
Why does your water filter sometimes leak or reduce flow shortly after installation? The answer often lies in overlooked two word discussion idea1 or incorrect two word discussion idea2. To fix common problems, follow these steps:
Leaks and low flow often result from overlooked installation errors or incorrect filter placement.
- Check Connections: Ensure fittings are tight but not overtightened, which can crack seals and cause leaks.
- Inspect O-Rings: Confirm O-rings are properly seated and lubricated; damaged or misaligned rings lead to drips.
- Assess Flow Direction: Verify the filter is installed following the marked flow direction; reversing it restricts water flow.
Frequently Asked Questions
Can Water Filters Improve Taste and Odor of Tap Water?
Yes, water filters can substantially enhance taste improvement and odor reduction by removing chlorine, sediment, and contaminants. You’ll notice fresher, cleaner water, making your tap water more palatable and suitable for drinking and cooking.
Are Water Filters Effective Against All Types of Contaminants?
You won’t find a water filter effective against all contaminants; filter effectiveness varies. Some excel in taste improvement and odor reduction, but contaminant coverage depends on the filter type and technology used. Choose wisely for your needs.
How Often Should I Replace the Filter Cartridge?
You should replace the filter cartridge according to the manufacturer’s recommended replacement interval, typically every 3 to 6 months.
Cartridge materials affect longevity, so check specific guidelines to maintain peak filtration performance and water quality.
Can Installing a Water Filter Affect Water Pressure?
Yes, you can install pressure changes if the filter capacity limits are exceeded. When you install a water filter, restricted flow or clogged cartridges reduce pressure, so monitor capacity limits to maintain consistent water pressure and optimal performance.
Are Water Filters Safe for Well Water Sources?
Yes, water filters are safe for well water if you understand their filtration limits. You must regularly test well safety, ensuring your filter targets specific contaminants without compromising essential minerals or flow rate.
Conclusion
Installing your water filter is like tuning a finely crafted instrument—each connection and seal must harmonize perfectly. By following precise steps and using the right tools, you guarantee a seamless flow of clean water, free from impurities.
Remember, consistent maintenance keeps your system performing at peak efficiency. With your new filter in place, you’re not just improving water quality; you’re safeguarding your health with every drop that flows through your water filter.